Showing posts with label crafts. Show all posts

Saturday, 19 August 2017

Romantic Altered Matchbox {Swedish House Crafts}

It's time for me to share the first of my Design Team makes for Swedish House Crafts - and I could not be more thrilled! I could not have been happier with the selection of new (to me) collections that I received to work with - lots of romantic colours and textures; new and interesting stamps; amazing dies and some really lovely embellishments!


Swedish House Crafts are UK based, so if Gummiapan, Magnolia Stamps, Maja Design, Pion Design, Reprint and Roxstamps are all new to you, then it's well worth a visit!

The first make I have to share is this cute, little 'Romantic Altered Matchbox'. I used to make these little lovelies *all* of the time, but I haven't made one for so, so long!


The base of the matchbox is covered in one of the small florals from the Maja Design, Sofiero, Limited Edition Collection (shown below.) You can see that I've also used the same floral to cover the inside of the drawer. It's so soft and delicate. I'll be so sad when I have used it all!


Once the base was covered, I started to add embellishments - the best bit! I used more of the Maja Design, Sofiero, Limited Edition Collection with a Gummiapan Die (Rounded Large Twig) to make some leaves, then added a few hand-cut and coloured leaves to add a little depth.

I added some of my own handmade linen and lace flower embellishments, then tucked in some beautiful Coral Pink/Primrose Paper Flowers and Vintage White Paper Flowers to add a little colour.


To finish, I used more of the Maja Design, Sofiero, Limited Edition Collection to make a butterfly embellishment and added a Large Round Brad to the drawer for effect!

I'm so happy to have re-kindled an old love - and I'm sure that I'll share more matchboxes! In the meantime, head on over to the Swedish House Crafts Blog for more inspiration from the Design Team!

Sunday, 14 April 2013

Owl Be Seeing You

How cute is this little fella? He's from the new Blue Moon Beads Amulet Collection. Originally, I was hoping to add him to a necklace, but I couldn't find quite enough bronze chain in my stash and had to have a little re-think!  


Instead, I found Bronze Jump Rings and a Lobster Clasp, both from the Blue Sky 2013 Collection; a couple of leftover Rope Rings - which came in a set of mixed sizes; and a little heart drop leftover from a project using chain from the Urban Warrior Collection. Including the time it took me to rummage around in my stash, it still took me less than ten minutes to make a cute, little handbag charm.

By the way, I'm so sorry for the seriously awful title. It's so difficult to keep thinking of new ones!

Sunday, 17 March 2013

The Mist Drops Hung On The Fragrant Trees

What better way to celebrate St. Patrick's Day than with a little creativity inspired by The Wonderings Of Oisin, by W.B. Yeats? What's that you say? With a Guiness? Well then, at least wear a little green!

"We rode in sorrow, with strong hounds three,
Bran, Sgeolan, and Lomair,
On a morning misty and mild and fair.
The mist-drops hung on the fragrant trees,
And in the blossoms hung the bees.
We rode in sadness above Lough Lean,
For our best were dead on Gavra's green."


Materials: Blue Moon Beads - Green Glass Rondelles (ZB-002-00053) Bronze Earwires (ZF-001-00019), Bronze Headpins (ZF-001-00019).

Wednesday, 28 November 2012

A Little Eye Candy

So, we had a visit from an internet engineer this morning and normal service will resume shortly. Hurrah! In the meantime, let me say a quick thank you for all of the sweet comments that were left for me on my last post - and for the e-mails that I received from a few of you as well. It means so much to me that there are still people out there reading. Now, onto the eye candy.

During October, I was thrilled to find out that I was selected for the Blue Moon Beads Design Team. I was even more thrilled when a box filled to the brim - and I really do mean to the brim - arrived at my house. There were tins and tins of beautiful bead mixes, chain, charms and cords! Lucky old me!

Knock Me Down With A Feather Necklace

This weekend, I finally had a little bit of time to sit down and start making. I've started sweet and simple, by taking some of the 'oh-so-cute' earring charms and using them as charms for a couple of necklaces. Because that's how I roll!

This first necklace uses a slightly chunky feather charm, along with some luscious beads from the Red Velvet Bead Mix.

Owl Be Seeing You Necklace

The second uses another 're-purposed' earring charm, which I separated into two parts and re-strung on to matching antiqued bronze chain. And, because I used some of Blue Moon Beads oval shaped jump rings to attach the charms, the chain looks seamless and much more professional. Result!

Snow Drift Earrings

As I am still steadily working on the Operation Tackle That Bead Stash Earring Challenge, where we're making a pair of earrings each week for 2012, I couldn't pass up the opportunity to make myself another pair of earrings using some of my new stash. I combined some lovely, clear faceted beads from the PB&J Bead Mix, with Blue Moon Beads Glass Pearls, silver spacer beads and some ear-wires to create some earrings a little reminiscent of snowdrops. I love these so much, that I've worn them every day since I made them!

Sunday, 30 September 2012

Autumnal Greens & Golds

It's been a little while since I've managed to join in with the monthly challenge over at Operation Tackle That Beadstash, but this month's beautiful combination of autumnal greens and golds made me determined to make something; anything. So I had a little rummage through my stash. I came up with lots and lots of greens and almost no gold.

Green & Gold

What I did find though was a few bobby pins, some gold wire and a little package of mixed green beads leftover from other projects. I then spent a happy half hour weaving and winding. I love making a little something out of (almost) nothing.

Thursday, 6 September 2012

You Can Go Your Own Way {September's Counterfeit Kit}

It's my favourite day of the month - the day of the Counterfeit Kit Challenge Inspiration Kit Reveal - and this time around I'm the Guest Designer. I'm just a little bit excited! This month, we're counterfeiting The August 2012 Kit from Birds Of A Feather and choosing three extra elements from CHA Summer 2012.

The first thing that you'll probably notice about my Counterfeit Kit is that it looks nothing like the inspiration kit - and that's a little unusual for me. Normally, I will follow the inspiration kit fairly closely, taking my inspiration from the colours, patterns and embellishments to make up a kit which, if not exactly the same, at least resembles the original. I tried to do that this time around and just ended up with a kit that I knew I would never, ever use. I loved each of the individual pieces, but as a kit, they just weren't inspiring me.

September's Counterfeit Kit

So, I knew that I needed a different approach second time around. I looked at each of the elements from the inspiration kit and chose the one that I loved the most - Studio Calico's 'Cubical'. From there, in the same way that I normally approach the full inspiration kit, I worked with the colours and patterns contained with that one piece of patterned paper to build a counterfeit kit that I absolutely adore.

And that's one of the best parts of creating your own kits, if it doesn't inspire you, you haven't lost anything. You can put all of your papers and pretty embellishments away and start again if you want to! 

Hearts Entwined

I've included a lot of embellishments in my kit - or a least a lot for me - taking my cues from the inspiration kit, but giving them a personal twist. I've included baker's twine, but changed the colours to work with my patterned papers and card-stock; the cute wire hangers have been substituted with some heart shaped paper-clips that have been in my stash for too long; and the Maya Road Pennants have been replaced with some Elle's Studio Pennant Labels and dinky, little banner that I handmade using stamps from Lawn Fawn's Bannerific and my trusty sewing machine. I've also added in four different alphas, buttons, beads, a little bit of bling and some pretty journalling cards from a selection of free downloads at Write. Click. Scrapbook.

Counterfeited Elements

To call my kit complete, I just need to decided on three things that had caught my eye from the latest CHA. Easier said than done, right? I finally narrowed down my wish list to the Plano Cling Stamp by Hero Arts/Studio Calico, which I've substituted with another Hero Arts Doily Stamp that was in my collection; the Heyday Thoughts Stamps from Studio Calico (specifically the uber-cool chevron style arrow) which I've substituted with the amazing Arrows Stencil from Sodalicious; and the cute, little Die-cut & Canvas Flowers from Basic Grey's Serenade Collection which I've handmade using several sizes of paper punches and a little bit of bling.

I'll be sharing a tutorial for the flowers (the simplest tutorial of all time!) along with a tutorial on creating your own pennant banner over the next week. I'll make sure that the tutorials appear in the September Mr. Linky, so that you know when to pop back. 

Now, I don't know about you, but I am dying to find out how the Master Forgers have got along creating their own versions of the inspiration kit (and, of course, I'm looking forward to seeing all of your versions very soon!) Your next stop is the lovely Crystal over at Creations Of My Heart, but you can always return to the Counterfeit Kit Challenge, if you get lost along the way. Go be inspired!

Wednesday, 5 September 2012

It's Autumn. Believe.

Over the weekend, I delved into one of my boxes of scraps (the large one full of long, thin strips of patterned paper) to make a sweet and simple card. The combination of colours that I chose reminded me instantly of autumn - although I could, of course, have been thinking about it subconsciously when I chose the colours. Who knows?


To decorate my card, I've used some of the teeny, tiny leaves and flowers from Lawn Fawn's Flutterby set; finishing off with a cute sentiment (which is part of the main sentiment from the same set.) Quite simple really. 

I'm thinking that I might just sit down and make a whole batch of cards, all with little strips, stitching and some stamping. It could be the perfect way to whittle down my box of scraps, while wasting away a happy, little autumn afternoon.

Saturday, 1 September 2012

I've Been Caught Stealing

Uh. Oh. I've been caught stealing! But instead of the shame that you'd usually associate with that phrase, my little heart has, instead, been filled with pride because I'll be joining the Counterfeit Kit Challenge as their Guest Designer for September. 


I am such a huge fan of the Counterfeit Kit Challenge that each month I can be found sneaking onto the blog during my tea break, or lunches, so that I can hit refresh 'just one more time' until the inspiration kit is finally revealed. I'll start thinking about how I can adapt the kit to suit my own tastes; wondering what papers I have that I can substitute in; what kind of embellishments I might be able to make myself; and which photographs I might try to use during the month.

Of course, as soon as the Master Forgers reveal their own counterfeit kits the following day, I'll often see something that starts me thinking all over again - like a paper I hadn't considered using, or a new way of combining the colours and textures from the inspiration kit. I start to get excited about the papers and products I already have in my stash! And that's why, even before I've started pulling together my own kit, or scrap-booking my pretty pictures, that the Counterfeit Kit Challenge is so much fun!

Monday, 27 August 2012

Learning Something New - Mini Album

I'm eagerly anticipating the start of Shimelle's Learn Something New Every Day at the weekend.I've taken part in this annual class many times and there is something wonderfully about revisiting an old favourite. One lesson that I have learnt the hard way though, is that if I don't prepare for the class, I never finish my album!


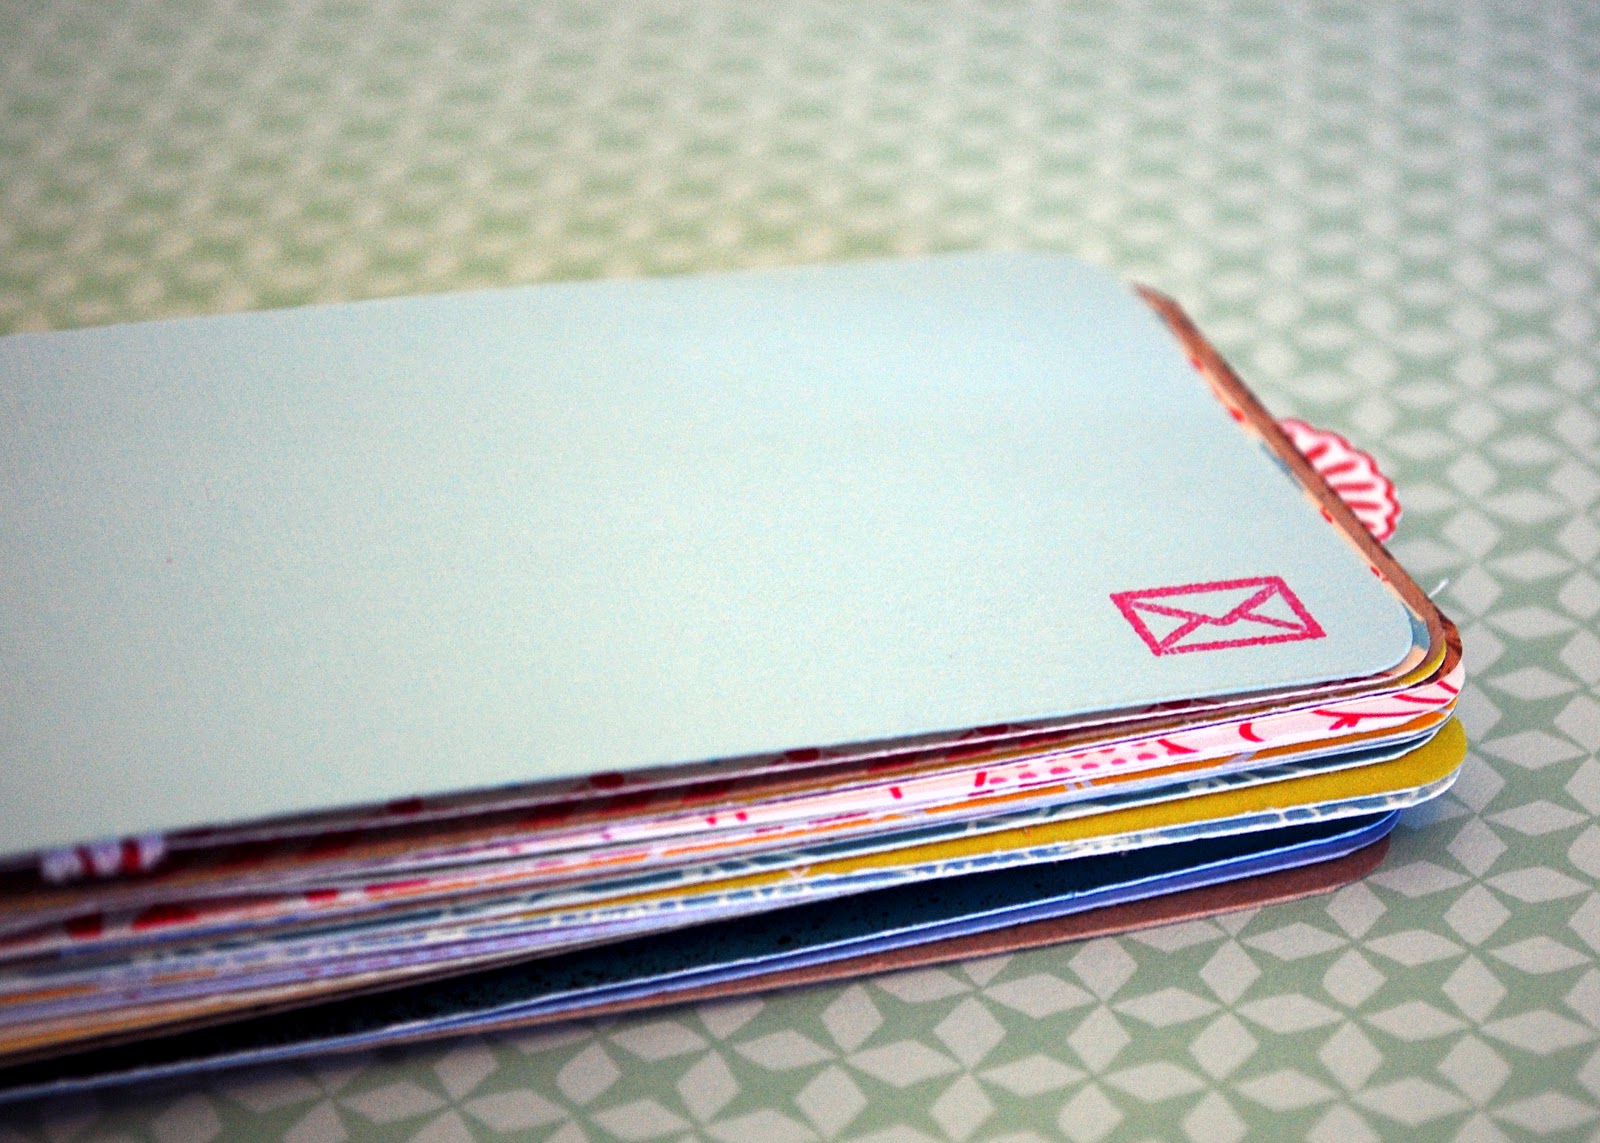
Using August's Counterfeit Kit has made it fairly easy to get started. I cut down a lot of cardstock and patterned papers to 3 x 5 inches, 'chomped' all of the corners and punched a hole in one end of each piece. To start making the base album feel a little bit more 'lived in', I've decorated the front using a little spritz of Mister Huey's Calico Shine; added a patterned paper effect with the camera stamp from Lawn Fawn's Say Cheese Too; and added a title with some Sassafras Alphas.


Inside the album, I've started to add some additional pattern with the chevron stamp from Papersmooches Geographic - it stamps wonderfully and, because it's a clear stamp, it's so easy to build up the pattern to create a fuller effect - and some extra embellishment with some of the smaller stamps from Papersmooches Teen Routine.


It's shaping up to be a fun album, full of colour and pattern - which is one reason why I love mini-albums, they really give you a chance to experiment with new ideas, products and techniques. Looks like I've started learning already!

Is anyone else planning on taking part this year? Have you done your preparation? Please let me know so that I can come and take a look. You see the best thing about starting class, is all the new friends!

Monday, 20 August 2012

Mini Lovin', Card Makin' {August's Counterfeit Kit}

It might seem a little late, but my Counterfeit Kit is finally ready for it's reveal. I've had hugely hectic month - and my little craft room looks like the four riders of the apocalypse stopped by for a spot of fun - so trying to find the time (and, um, find the supplies under all the mess) has made putting my kit together a little more difficult this month.

As Stitching On Paper (my very first paper-crafting class!) will wind down next weekend, I'm looking forward to starting Shimelle's annual class - Learn Something New Everyday - at the beginning of September. Having taken the class for the past two or three years now, I know that the best way for my to finish the class - with a complete album - is to prepare everything in advance. So, I've designed this month's Counterfeit Kit with that in mind.

I've once again pulled out my (now dwindling) box of scraps and have chosen papers from American Crafts, Echo Park, We Are Memory Keepers, Crate Paper and Bazill which echoed the colours and patterns from the inspiration kit - Summer Lovin'. I've then cut these papers down to 3x5 inches, chomped the corners and punched a hole in the end - creating the base for a mini album.

I've saved all of the scraps from cutting the pages for my mini-album and, as I'm hoping to have a card making session with a good friend very soon, I've added in some extra cardstock and that beautiful, chevron fabric paper from American Crafts. *swoon*

Counterfeit Kit August 2012

In order to choose my extras I made a small list of the embellishments in the inspiration kit and then set to with my stamp sets from Make The Day Special. I've used stamps from Say Cheese Too, Admit One,  Learning Year By Year and Blossom Stackers to create stars, circles, cameras and tickets. Then added a healthy dose of alphas, sequins, ric rac, sentiments, ribbon and twine. 

All based on the inspiration kit, but with my own little twists! You know how it is, right?

Sunday, 19 August 2012

Stitching On Paper - Inspired By Cross Stitch

After spending most of the evening fiddling around with manuals, plug sockets and wiring, I have internet again. Hurrah! How did anyone cope before Google, Twitter and Facebook? Maybe I have a little bit of a problem?

And, moving on! Who's ready for some more Stitching On Paper? In today's installment, Stitching On Paper - Inspired By Cross Stitch, I'm joined by Guest Designer Sian Fair, as we take a look a contemporary twist on a traditional craft. 


I've been so amazed and gratified to see people starting to create their own Stitching On Paper projects this week, based on some of the earlier lessons in the class. It really makes all of my hard work seem worthwhile, so thank you so much!

Check out the Stitching On Paper - Introduction to see some of the projects that have been linked up so far, or link your up your own project using stitching to have the chance of winning a pretty little package of paper-crafting supplies.

Sunday, 12 August 2012

Stitching On Paper - Inspired By Embroidery

In today's installment of Stitching On Paper, I'm joined by Guest Designer Lisa Hausman, as we expand our stitching credentials and get Inspired By Embroidery. There are inspirational projects, tons of tips and a collection of lovely links to help you learn. 


I'd recommend getting yourself a cuppa - and maybe a packet of biscuits - before settling down to read through today's download. You'll head off to look through all of the links and I guarantee that it could be hours before you resurface! Enjoy! x

Saturday, 11 August 2012

Stitching On Paper - Inspired By Stamping

Morning! Ready for some more Stitching On Paper? We've learnt the basics of hand and machine stitching, but now we're going to start looking at how our stitching can be inspired by some more familiar crafts like stamping, embroidery and cross stitch. 


In today's part of the class, Stitching On Paper - Inspired By Stamping, I'm joined by Guest Designers Julie Kirk and Mel H. We've all interpreted our use of stamping and stitching a little differently, so there's plenty of inspiration. 

Remember that if you've been inspired by the class, I'd love to see what you've created. You could win a little something! Have a lovely weekend! x

PS Last week's Guest Designer, Jennifer Grace, has a little stitching template available on her blog. It's the cute cloud from last week's layout. Go get it!

Saturday, 4 August 2012

Stitching On Paper - Inspired To Stitch By Hand

Well, it's a little later than I expected but I'm having a little bit of a manic weekend - and am busy juggling house guests, far too many loads of laundry and ... um, a craft class. When I over-commit myself I really like to do it properly. Let's move on swiftly, shall we?

This morning’s Stitching On Paper - Introduction looked at all of the tools and supplies that you’ll need to start hand stitching. Hopefully, by now, you’ll have rummaged through your craft stash and will have everything that you need to hand.

If stitching on paper is something new to you, you might still be feeling a little apprehensive – so how about a little bit of inspiration to whet the appetite? In the next part of our class - Inspired To Stitch By Hand - you'll find projects from Guest Designers Jennifer Grace and Lara Watson. There's also a tutorial and template for creating your own hand stitched card. 


If you’re inspired by any of the techniques and tutorials featured in Stitching On Paper, please feel free to post your projects on your own blog, in your own online communities, anywhere!

You can post a link to your projects using the Mr. Linky in the Stitching On Paper – Introduction so that I, and all of the other class participants, can ‘ooh and ahh’ over your project.

And – just in case the recognition of your fellow classmates isn’t enough of an incentive to share – at the end of the class, I’ll be picking one participant at random to receive the rather splendid prize pictured above. The prize includes patterned papers from Crate Paper, Prima, American Crafts and We Are Memory Keepers,; American Crafts 'Fellow' Thickers; Elle's Studio Pink Pennants; Embroidery Threads; Organza Ribbon; Doilies; K & Co. Diecuts; A Clear Mini Frame; Floral Embellishment - and the latest edition of Scrap 365. 


Also included (but not pictured) is this super cute, Papersmooches Stamp Set - Summer Grooves - kindly sponsored by my lovely Design Team Co-ordinator, Emily from Make The Day Special.

So, what are you waiting for, get stitching!

Stitching On Paper Class - Introduction

Welcome to the first day of class! I have been absolutely overwhelmed by the response already. Thank you so to all of my followers - new and old - for all of the comments and well wishes that you've left me this week! It's so very much appreciated!

All of the class materials will be available via the Stitching On Paper Collection over on Scribd. You should be able to view all of the class materials without an account, though you may need to create a (free) account to print or download. I hope this suits everyone - there just seemed to be too much material for each part of the class to pack into one or two blog posts!

Stitching On Paper - Sneak Peeks

The first part of the class, Stitching On Paper - Introduction is a simple hunting and gathering exercise, to help you ease into the weekend - and the idea of learning - gently. I'll be back later on today with the first tutorial, some inspirational projects and the details of that prize I mentioned! Enjoy x

Friday, 3 August 2012

Notts Weekend Mini Book

For the last couple of weeks, I've been working on turning my July Counterfeit Kit into a mini book recording our beautiful Nottingham Weekend. Lots of cutting, corner chomping, stamping and sticking later and I've finally finished. There's a lot of pages packed into one little mini book, so I've only included a few photographs. (Here's the whole Notts Weekend Mini, if you're interested.)

Notts Weekend Mini

I very much wanted the emphasis to be on the photographs and the journalling - and, I've included a lots of journalling cards to make space for those all important stories. There's still a few more stories to add in - and I'd especially like to have The Steve write a few of them. I'm conscious that I don't often include our stories from his point of view!


Because there's so many pages, I've kept my embellishments to a minimum, using my favourite Lawn Fawn sets - Bon Voyage, Bannerific and Say Cheese Too, along with some of the smaller doily shapes from the Unity set Blossom Stackers. There's some teeny bits of bling too, just to add some, but not too much, dimension and some continuity between the pages.

Notts Weekend Mini

Notts Weekend Mini

The Sassafras and Lily Bee Alphas from my Counterfeit Kit were also the perfect sizes to include mini-titles on some of my pages, highlighting important photographs and adding a little bit of texture.

Getting seriously excited by the idea of a new Counterfeit Kit which will be 'revealed' on Sunday. Between you and me, I become a little obsessed with the 'refresh' button on the 5th of each month!

Thursday, 2 August 2012

Kasaviragas Karkoto {Tried & Tested}

Just popping in today with a Tried & Tested review of another tutorial that's perfect for using up some of your beading leftovers - Kisaviragas Karkoto by Panita. That's right, it's in another language - but please don't let that put you off! The diagram truly is exceptionally easy to follow if you have a little bit of beading experience and, of course, anyone who needs a little bit of help can just ask me!

The pattern calls for seed beads in Size 11 and Size 6, though I have successfully used Size 11 and Size 8 in my own version of the bracelet. To stitch up the full bracelet, with three rows, you'll need approximately three grams of each bead size. So, have a little rummage for all of those 'nearly empty' tubes of seed beads! 


If you're not sure whether you have quite enough beads for the full bracelet, I've found that a one row version looks just as cute and, of course, if you want to play around with the basic pattern to make some earrings, you'll need a much smaller amount!

You can vary the pattern a little by working with other sizes of beads, as long as you pair together two different sizes. Size 15 and Size 11, still work perfectly well, but you'll need a smaller needle and possibly a thinner thread. 

Can't wait to see the variations that you all come up with x

Sunday, 29 July 2012

Stitching On Paper Class - Sneak Peeks

The idea of stitching on paper might be nothing new, but I'm still amazed by the amount of e-mails that I receive asking me how I've managed to add hand stitching to my cards, or the people who leave me comments telling me that they wouldn't have the confidence to start stitching on their own layouts. 

Rather than reply to each and every one of those e-mails and comments individually, I started to think about the idea of hosting a class - for free - to share my own tips and techniques. It's been a long time coming, but I'm ever so proud to announce that Stitching On Paper will start on the 4th August, with tutorials every Saturday and Sunday throughout August.

I'll be exploring how to stitch on paper - covering the basics of hand stitching and machine stitching - then taking those techniques further inspired by stamping, embroidery, cross stitch, string art and quilting. Each element of the class will include tips, techniques and inspiration projects. 

Stitching On Paper - Sneak Peeks

Of course, I have a few Guest Designers joining me - Sian Fair, Mel H, Julie Kirk, Kim Dellow, Lisa Hausman, Tricia Simmons, Jemma Sharrock, Jennifer Grace & Lara Watston. Pretty amazing line-up, right? Each of these talented ladies will be sharing their own interpretation of my basic prompts - and I guarantee that you'll be inspired to start stitching on paper to create your own projects. Oh, and did I mention a prize?

Wednesday, 6 June 2012

A Little Leftover Loveliness {Bead Table Wednesday}

Operation Tackle That Beadstash have declared the month of June to be 'Leftovers Month' and so, we are encouraging everyone to rummage around in their beadstash, and make something pretty with the random bits and pieces that they find. 

So, hoping to lead by example, I had a little dig around in stash over the weekend - and came up with several bags of wooden beads which were leftover from when I started beading. Nestled in there, amongst those cheap wooden beads, was a beautiful, little focal that I'd completely forgotten about - who said poking around in your past was a bad thing? 

Goddess Necklace

It took a little while to sort the beads into usable piles - and there were a few truly ugly beads that had to be discarded along the way. There was then a little bit of trial and error as I worked through a couple of patterns until I came up with a design (and length) that I was happy with as a necklace.

In the end, I opted to string the beads onto a some copper wire, as it held the shape of the necklace far better than any of my beading threads - and it allowed me to shape a button clasp that wouldn't stretch with time. Happily, I think it compliments the wooden beads well!

Button Closure

I can't quite believe that, after all this time, the wooden beads that I had banished to the bottom of my beading box have finally made a re-appearance and I've turned them into a piece of jewellery that I actually like. Just the incentive I need to have another rummage!

Saturday, 2 April 2011

An Indian Summer!!!

So, it's official. I'll be spending two weeks during the summer in India! At the university where I work we have a dedicated charity which, every year, sends teams of staff and students to development projects around the world to work.

Front Cover


This year teams are heading to India, Brazil, Mauritius, Uganda and Malawi - and I feel so amazingly privileged to be heading off to a country that I have never visited (have never even dreamed of visiting!) and to be working with the local community on a project which will benefit them long after we come home.

Top


In the run up to our departure I'll be getting to know the other members of staff who'll be accompanying me and meeting the team of students we'll be taking with us and, together, we'll all be fundraising to cover the costs associated with our project. The journey starts right now!

Butterfly


To make sure that I don't miss out on documenting any of it - the 'getting to know you' meetings, the fundraising, everything - I've put together a mini-book using some of my Counterfeit Kit.

Pages


I've used a lot of papers from my versions of Into The Woods and Sunny Clearing, because the colours are so vibrant - just how I expect India to be. I've also added in scraps leftover from my projects using the other kits, so I've used up quite a bit of stash!

Sunshine


Packing List


To add extra details to my mini-book, I've added some stamped images using my Make The Day Special. stamp sets, All About The Journey and A Girl & Her Adventures. I don't think there could be any stamps sets more perfect for documenting this trip. And aren't they beautiful?

Compass


I'm so impressed that I've been able to use my kits from the Counterfeit Kit Challange this month despite being extremely busy. Obviously having everything ready in kit form is just what I need. I cannot wait to find out which kit we'll be counterfeiting next month!