Showing posts with label lawn fawn. Show all posts

Saturday, 29 September 2012

Counterfeit Card Kit {Counterfeit Kit Challenge}

I love the process of putting together my kits for the Counterfeit Kit Challenge each month so given the opportunity to put together a Card Kit, based on this month's Inspiration Kit, I became a little bit excited! Another kit to put together? Where do I sign? 

I wanted a card kit that would work well with my main kit because I knew that I'd eventually want to start mixing things together, especially when it comes to all the little leftovers. With that in mind, I started with some 6x6 papers from Studio Calico's Heydey and Dear Lizzy's Neopolitan, which will co-ordinate perfectly with the selection I put into my main kit. Some amazingly awesome patterned papers from Lawn Fawn's Dewey Decimal Collection and Ils' Summer Dreamer, along with some plain cardstock in complementary colours added more options, but not so many that I'll feel overwhelmed!

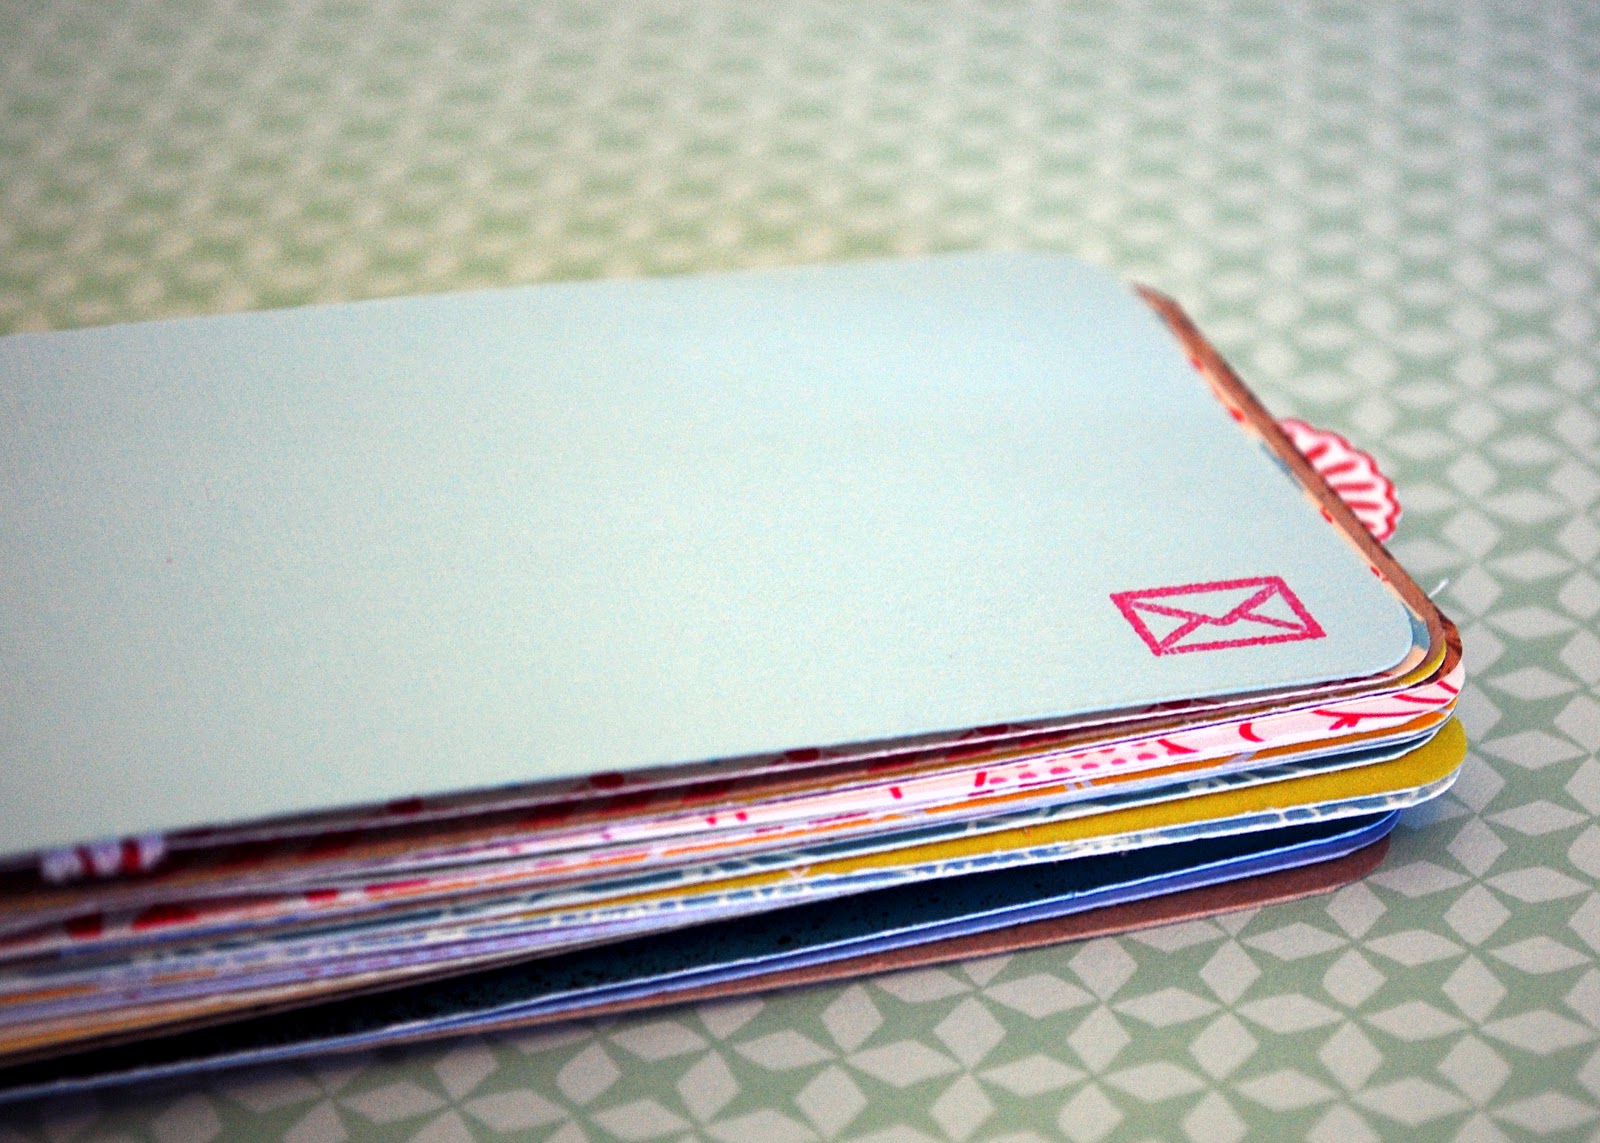
I used this 3 x3 Envy Template to emulate the cute, little envelopes in the Inspiration Kit. Then used the rest of the sheets to make some card bases to fit - I do like my mini-cards! 

Card Kit

As I still had a lot of embellishments, including ribbon and buttons in my main kit, so I went with an ecelectic mix of little stickers, rosettes, resin flowers and leaves that were just 'hanging around' on my desk and then threw in a couple of plain washi tapes for good measure. 

No card kit is complete without some multi-purpose stamps, so I've included two sets from Lawn Fawn's recent release - Happy Everything which literally covers all eventualities - seriously, no card-maker should be without this little gem of a stamp set -  and A Birdie Told Me, which makes a lovely change from using banners and labels.

So, although it might be nearly the end of the month, I still have some counterfeiting to share with you before the next inspiration kit is revealed on the 5th October. Stick with me.

Sunday, 23 September 2012

Challenges And Experiments! {Counterfeit Kit Challenge}

September is always a little bit of a crazy month - working in a university means that as soon as autumn arrives, we're welcoming new students; catching up with old friends and working, working, working. This is really the first day this month that I've had chance to catch my breath and I've enjoyed working on a few things in my little craft room. Unfortunately, that doesn't include tidying! It's such a mess! 

Thankfully, the weather has been a little brighter today, so I've managed to take some better photographs of the layouts I've made for the Counterfeit Kit Challenge, and here's my take on Master Forger Challenge #1. The aim was to use something from our stash - either a tool or embellishment - that we love but haven't used for a while. Inspired by the Organise This theme for the month, I dug out a couple of punches that haven't seen the light of day for some time!


I've been wanting to experiment a little with some different sizes and shapes of layouts and I'm so pleased with the result - even if it does have a photograph of me on it!

Master Forger Challenge #2 was a little more....challenging. Basing a layout on an inspiring character from one of my favourite books or television shows didn't come easily. I was getting a little panicky, when I spotted John Le Carre's, The Constant Gardener on my bookshelf. I've hidden some journalling away about my own favourite 'Constant Gardener' - my dad - but the gardening theme is easy to spot! 


I decided that a little more experimentation was in order and although I'm not as pleased with the overall balance of the layout - I'm just not feeling the 12x12 at the moment - I am pleased with my layering. Leaving each layer 'looser' than normal and adding some distressing has really given my layout some extra dimension. I've used some stamps from Lawn Fawn's Check This Out and Flutterby to add some embellishment - they were just perfect for this layout!

There's more to share, but you'll have to wait a little bit longer. In the meantime tell me, have you been experimenting with your scrapbooking recently?

Friday, 14 September 2012

Pennant Banner Tutorial

Today, I have a little tutorial for you all, inspired by The Counterfeit Kit Challenge, where I'm this month's Guest Designer. September's Counterfeit Inspiration Kit contained some of Maya Road's Canvas Pennants. They're a little bit too big for my style, so I created my own, much dinkier version using the Bannerific Stamp Set by Lawn Fawn. I can highly recommend purchasing this little lovely. It really is one of my favourite sets because each of the elements is adorable - perfect for cards and scrapbook layouts; and most especially for counterfeiting your own embellishments.


Your first step is to gather up some scraps in a colour combination which will suit your finished project and I chose colours that would compliment September's Counterfeit Kit. I then stamped directly onto my little pieces of patterned paper scraps - sometimes managing to fit on all five of the little pennants, sometimes only one or two. It's doesn't really matter, because you'll be cutting them out individually, so use up as many of those small scraps as possible!

Cut out all of your stamped pennant images and arrange them roughly into the order you'd like them to appear in your banner. Now it's time for some machine stitching. (If you're not a confident stitcher, try working your way through my recent series of tutorials Stitching On Paper.)


Start by setting your sewing machine to straight stitch and adjust the speed to it's slowest setting. Now place your first pennant piece under the presser foot, with the needle in place just above the outside edge of the pennant. Sew three or four stitches - aim to leave a little bit of space between your last stitch and the edge of pennant.


Ensure that you leave the needle in the 'down' position - then lift the presser foot and slide the next pennant into place, so that the edges of your pennants are close but not overlapping.


When the pennant is in place, drop the presser foot and continue stitching. Repeat until you have completed your banner - stitching to the very edge of the last pennant piece. Now remove the banner from your sewing machine, pulling on both working threads.


Knot the working threads at each end of your banner - this will stop the pennant pieces moving around - and use a needle or paper piercer to ensure that the knot is tight up against each end. Now display your banner proudly on your cards and layouts!

Wednesday, 5 September 2012

It's Autumn. Believe.

Over the weekend, I delved into one of my boxes of scraps (the large one full of long, thin strips of patterned paper) to make a sweet and simple card. The combination of colours that I chose reminded me instantly of autumn - although I could, of course, have been thinking about it subconsciously when I chose the colours. Who knows?


To decorate my card, I've used some of the teeny, tiny leaves and flowers from Lawn Fawn's Flutterby set; finishing off with a cute sentiment (which is part of the main sentiment from the same set.) Quite simple really. 

I'm thinking that I might just sit down and make a whole batch of cards, all with little strips, stitching and some stamping. It could be the perfect way to whittle down my box of scraps, while wasting away a happy, little autumn afternoon.

Monday, 27 August 2012

Learning Something New - Mini Album

I'm eagerly anticipating the start of Shimelle's Learn Something New Every Day at the weekend.I've taken part in this annual class many times and there is something wonderfully about revisiting an old favourite. One lesson that I have learnt the hard way though, is that if I don't prepare for the class, I never finish my album!


Using August's Counterfeit Kit has made it fairly easy to get started. I cut down a lot of cardstock and patterned papers to 3 x 5 inches, 'chomped' all of the corners and punched a hole in one end of each piece. To start making the base album feel a little bit more 'lived in', I've decorated the front using a little spritz of Mister Huey's Calico Shine; added a patterned paper effect with the camera stamp from Lawn Fawn's Say Cheese Too; and added a title with some Sassafras Alphas.


Inside the album, I've started to add some additional pattern with the chevron stamp from Papersmooches Geographic - it stamps wonderfully and, because it's a clear stamp, it's so easy to build up the pattern to create a fuller effect - and some extra embellishment with some of the smaller stamps from Papersmooches Teen Routine.


It's shaping up to be a fun album, full of colour and pattern - which is one reason why I love mini-albums, they really give you a chance to experiment with new ideas, products and techniques. Looks like I've started learning already!

Is anyone else planning on taking part this year? Have you done your preparation? Please let me know so that I can come and take a look. You see the best thing about starting class, is all the new friends!

Friday, 3 August 2012

Notts Weekend Mini Book

For the last couple of weeks, I've been working on turning my July Counterfeit Kit into a mini book recording our beautiful Nottingham Weekend. Lots of cutting, corner chomping, stamping and sticking later and I've finally finished. There's a lot of pages packed into one little mini book, so I've only included a few photographs. (Here's the whole Notts Weekend Mini, if you're interested.)

Notts Weekend Mini

I very much wanted the emphasis to be on the photographs and the journalling - and, I've included a lots of journalling cards to make space for those all important stories. There's still a few more stories to add in - and I'd especially like to have The Steve write a few of them. I'm conscious that I don't often include our stories from his point of view!


Because there's so many pages, I've kept my embellishments to a minimum, using my favourite Lawn Fawn sets - Bon Voyage, Bannerific and Say Cheese Too, along with some of the smaller doily shapes from the Unity set Blossom Stackers. There's some teeny bits of bling too, just to add some, but not too much, dimension and some continuity between the pages.

Notts Weekend Mini

Notts Weekend Mini

The Sassafras and Lily Bee Alphas from my Counterfeit Kit were also the perfect sizes to include mini-titles on some of my pages, highlighting important photographs and adding a little bit of texture.

Getting seriously excited by the idea of a new Counterfeit Kit which will be 'revealed' on Sunday. Between you and me, I become a little obsessed with the 'refresh' button on the 5th of each month!

Saturday, 2 June 2012

Little Gift Tags

In between projects, I always clear my desk of leftovers, but to make tidying feel a little less like a chore, I like to gather up some of my scraps and make something small. I find it helps me to use up those teeny, tiny scraps while I still have the incentive!

Stamps help with this process, because the smaller designs really make the most of those scraps - and there's very little waste. So, during my last desk clean, I pulled out some of my stamps from Make The Say Special and decided to make a few little gift tags. I chose my designs and colours based on a few leftover pieces of ribbon which were floating around. It's as good a reason as any, right?

Teeny, Tiny Tags

Teeny, Tiny Tags

The first tag uses a sentiment from Cruising Through Life, a little cloud from Bon Voyage and a circle element from Blossom Stackers. Doesn't it look like a little sun when it's stamped in yellow? On this second tag, I've used some leaves and floral elements from Blissful Botanicals and FlutterBy. The two sets compliment each other so perfectly. And lastly, a simple little tag made with a sentiment from Boob Tubes and an embellished star element from Learning Year By Year.

Teeny, Tiny Tags
*** Please note that although the new website for Make The Day Special is now open, Emily is still working on the shop and we're currently unable to link to each stamp set. I'll let you know as soon as everything is re-stocked on the website. ***

Monday, 21 May 2012

West Kirby Marina

I found a little bit of time this weekend to do some scrapbooking. I've really missed playing with my pretty papers over the last few months, so it's lovely to be feeling inspired again. Thankfully, there's lots of inspiration around at the moment - I had some new (well, old really) photographs printed off recently which is always a big boost to my scrapbooking mojo and, of course, I've been playing along with the Counterfeit Kit Challenge

The paper's in my kit for this month are perfect for scrapping the blues, greys and browns of my spring-time photographs from last year and I'm hoping that they'll be just as useful in scrapping the rest! I seem to have a lot of kit left, but not a lot of month though - so we'll have to see if I can manage to squeeze in everything I have in mind.

West Kirby Marina

I come back to this simple formula of strips and stitching, time and time again, because it works for me. It's minimalist, but it works especially well with my larger photographs. I've added in a little extra detail with some Cosmic Shimmer Mist and a selection of stamps from the Blossom Stacker Set by Unity and a word stamp from the Say Cheese Too Set by Lawn Fawn (both of which are available in the UK from Make The Day Special.) 

Do you have a scrapbooking formula? One that works for you when you're in a hurry, or when you need a kick start? I'd be interested to know - so that I can try it!

Monday, 14 May 2012

Such Happy Days

Prompted by one of the challenges in the Master's Forger's National Scrapbooking Day Blog-Hop, I started thinking about how I could make my own version of the Sassafras Collage Text Paper to include in my May Counterfeit Kit

Just a little bit of stash diving and I was ready to go! First I dug out some white cardstock, the remains of a chipboard alpha set, some spray inks, co-ordinating stamp inks and some of my trusty stamp sets. 

Using the chipboard alpha set as a stencil, I misted part of my cardstock with the spray inks. Once dry, I inked up some of my luscious stamps and used them to add additional colour and texture. Here you can see stamps from three Unity Store Kits - Quiet Essence, All About The Journey and Learning Year By Year, as well as Schoolhouse Backdrops by Lawn Fawn.

Although I've cut the final paper down to include it on my layout, I'll be keeping the extra bits to use in other projects - even on a smaller scale the misting and stamping make excellent backgrounds - so expect to see them making an appearance over the next few weeks. 

With such a colourful paper as the main focal point of the layout, I only needed a simple, but colourful background and a few, well chosen embellishments. To add a little bit of dimension, I've layered a tag, some cardstock from my scrap box and some ... um ... extra stamps.


Even I was a little shocked that I managed to include even more stamps, but those cute clouds and the sweet florals from Bon Voyage and Flutterby - both by Lawn Fawn - added just the right amount of whimsy. And I do like a bit of whimsy!

Saturday, 28 April 2012

We're Day Trippers, Yeah! {Saturday Scrap}

At the beginning of my relationship with The Steve, we decided to have a 'Ferry Across the Mersey' date - so we took the ferry from Birkenhead across to Liverpool, had a mooch around The Albert Dock, a spot of lunch at The Tate Liverpool and then went out for a few drinks. It was such a lovely day, even if it was a little bit blustery. And, since this photograph is one of our favourites, I thought it was about time it had it's own layout.

Day Trippers

I've used stamps from Say Cheese Too! which one of my all time favourite stamp sets from Lawn Fawn because it's absolutely fantastic for scrapbooking. It includes months and numbers - making it perfect for including dates - and it has the most adorable camera stamp I have ever seen! As soon as I started this layout, I pulled out my stamp set and added one of the sentiment stamps from the set 'A Great Snapshot Warms The Heart'. Couldn't be better for a layout about one of our first dates, right? I also added the little camera to one of my embellishment clusters - I told you it was adorable!

Day Trippers - Detail

To tie in with the sentiment and the theme of the layout, I also used the teeny, tiny heart stamp from Cruising Through Life. Stamped, coloured and cut-out, it adds a few pops of colour and movement. I haven't decided whether to add some more journalling, so I'm going to pop this to one side and have a little think about it. Anyone else finish a layout and then get a little bit scared of ruining it by adding too much?

Tuesday, 3 April 2012

Stamping & Stashbusting

After all my time away, I'm thrilled to rejoin the Make The Day Special DT. I've really missed playing with my lovely stamps - so I was thrilled to have some time this weekend to get stuck in. My fingers are now satisfyingly inky!

First I made a couple of little gift tag backgrounds using some teeny, tiny scraps. It's really simple, just stick them down, then sew them up! I thought the colours would be perfect for spring - even though they're actually scraps from my October Counterfeit Kit. It's the kit that just won't end!

The first tag uses a partial sentiment and balloons from Admit One and a little cloud from Bon Voyage - both sets from Lawn Fawn's Summer 2011 Release. Still one of my favourite stamp collections!
Enjoy Tag
The second tag uses a simple sentiment from Cruising Through Life, another set from Lawn Fawn's Summer 2011 Release, and some pretty stars from Learning Year By Year, one of Unity's Store Kits.
Thank You Tag
Such super, simple stashbusting projects that I hope will add a little 'something, something' to my gifts.

Wednesday, 21 September 2011

Such Bad Weather (For Photography!)

Hello! Hello! I have no idea what kind of weather you're all experiencing at the moment, but I've been surrounded by grey, miserable rainclouds for the last few days - and I must apologise because they're seriously affecting my ability to take a good photograph of my crafty makes!

You're My World

I've been clinging to my memories of summer for as long as possible by using Admit One from Lawn Fawn's Summer Release. Though if you're hankering for some autumnal projects, may I suggest that you take a peek at the rather delicious Autumn Release now available at Make The Day Special?

You're My World

My sentiment is created using the super cute ticket stamp (which is set to be an all time favourite) and I've also used two of the sentiment stamps that came with the set. It's fairly easy to mask of individual words with a couple of Post-It-Notes and you end up with a whole new sentiment!

To add a little bit of 'pop' to the card, I've also added the larger of the two pinwheel stamps that come with the set, colouring it with Pro-Markers to co-ordinate with the spray ink on my card base.

Et voila!

Saturday, 23 July 2011

I'm A Card-Making, Pennant Monster!

Ah! It's been a strange old week! I had a little bit of a reaction to one of my injections for India (which is now only a week away - excited) and have been unbelievably ill. Bleh! So there's been very little craftiness in this house over the last week. The inspiration has been there, the inclination has not.

But, after reading through the posts in Going Postal, a new blog series by Julie Kirk, I had the undeniable urge to make cards. So I sat down last night, cracked open my Counterfeit Kit for July, and came up with a card inspired by Julie's General Greetings.

Hello

The base of the card is quite simple - a little patchwork of co-ordinating papers and a bit of stitchery. To create the pennant greetings, I stamped the ticket image from Admit One and used Jessie's ABCs to add the lettering. (Both sets are available from Make The Day Special.)

I then 'strung' them onto some embroidery thread (by sticking them with double-sided tape) along with some colour co-ordinating beads. And voila!

Hello

I've never used the tickets as pennants before, but I feel a lot of cards on this theme coming on. I have a feeling that Julie may have inadvertantly created a card-making pennant monster!

Saturday, 16 July 2011

Sweet Little Notes

After finishing up a craft project, I often find myself with small leftovers and there is nothing more pleasing than finding a use for them! Yesterday, I ended up with a long piece of stripy kraft cardstock. I decided to cut it down into smaller pieces and create some sweet little notes using the teeny tiny stamps from Sophie's Sentiments and Say Cheese Too.

Sweet Little Notes

It can be all too easy to overlook some of the smaller stamps in these sets, but I think they're really versatile - and they're fun too! I also added a couple of small sentiments to the mix, by only inking up part of the larger phrases. You can see that with just a few stamps, some black ink and a little bit of time - five minutes to be exact - I ended up with something I can use in other craft projects, instead of something to add to the scrap pile.

Sweet Little Notes

I'm thinking gift tags, tiny journalling spots, or cute card toppers - lots of options. So, make the most of your own stamps by constantly looking for new ways to use them!

And, don't forget that some of the giveaways we featured as part of last week's Get 'Em While You Can Blog Hop are still open - including my own - so now's your chance to make some last minute entries.

Tuesday, 14 June 2011

Pretty Packaging

I discovered My So Called Junky Life a little while ago and spent a wonderful hour or two looking through Sarah's blog archives - oohing and ahhing over her super pretty jewellery and gorgeous photography. But out of all that loveliness, I was especially in awe of beautiful beads and pretty packaging that Sarah had featured in the Petite Bead Box Swap. How amazing it would be to take part in a bead swap like that!

So, I was beyond thrilled when Sarah decided to host another bead swap and I signed up to take part straight away. Then, of course, I had a moment or two of panic - the ones which always come with needing to send something impressive to a complete stranger.

DSC_0211

I decided to make an envelope parcel using what has to be my favourite cardstock of the century - Basic Grey's Kraft. I then decorated the envelope using some handstamped leaves from Blissful Botanicals and Harvest Of Memories, along with some ribbon and flowers from Precocious Paper.

I'm thrilled with the way my packaging turned out and can guarantee that come Christmas I'll be trying this with traditional reds, greens and little bits of holly! It's a little early to be thinking of Christmas, right? How did that pop into my head?

I should be able to reveal the parcel that I received - along with it's beautiful contents - over the next day or two. In the meantime, perhaps you can tell me where you get your packaging inspiration?

Friday, 3 June 2011

Cute Cards Continued!

As you know, I've been busy making little cards from all of my scraps this week and I just couldn't resist using the stamps from Lawn Fawn's Summer Release. They are just oh so lovely!

Thank You

My first card features some of the leaves and a dinky little flower stamp from Blissful Botanicals and a sentiment stamp from Cruising Through Life.

Smile

The second card uses the most adorable clouds you'll ever see - they're from the Bon Voyage Set - along with the balloon stamps from Admit One and a sentiment from Blissful Botanicals.

Best Dad Ever

And, last but not least, an idea for Father's Day using the sentiment stamps from Say Cheese Too and a couple of stamps from Admit One. Cute, right? Go get 'em!

Saturday, 16 April 2011

Simple Saturday

I think that all the hard work and long hours that I put in at work last month have finally caught up with me. Despite a complete slow down - almost to the point where I've been a little bored at work this week - I've been so, so tired. I've been in bed by eight most nights this week. I'm such a party animal!

Clean & Simple

So, all I've got to share with you this week is a clean and simple card that I made for one of my bestest friends. She's just had a little girl and I thought something appropriately pink and pretty was in order to celebrate the occasion.

Clean & Simple

I used the Martha Stewart Daisy Border Punch to create some borders (I finally treated myself to a border punch so expect to see this motif on everything for a little while!) and my set of Sophie's Sentiments stamps. Just a couple of little ribbon roses to accent the card and I was done.

Thank Saturday for simple projects!